Working with Routes and Templates
Introduction
Ember is a great clientside JavaScript MVC framework that piggybacks on top of Handlebars, a very popular and syntactically friendly templating library. In learning Ember, it becomes apparent almost immediately that it is built with a distinct philosophy that values: true separation of model, views, and controls; maintaining clear usable URLs throughout the life of your application; and seeks to automate and abstract away most of the common code you would find yourself writing when building an app.
Now that we know some of the benefits and the stress free building environment Ember provides, you are no doubt excited to jump in—so let’s get started!
What We Will Build
In the first part of this series we will start our application off by downloading all the neccessary code libraries, create a new Ember App object, create templates, and map our routes to them.
Downloading Ember and Dependencies
To start a new Ember app typically you would download jQuery, Handlebars, and Ember. To do this in a single step download this starter code zip file or clone from my github repo.
Find the zip file you downloaded, uncompress it and move the social-cat folder to the location where you would like it to live on your computer or move to the directory you cloned the repo at.
Lets open the folder up in our code editor and see what we have. You will notice that included is the following files and folders: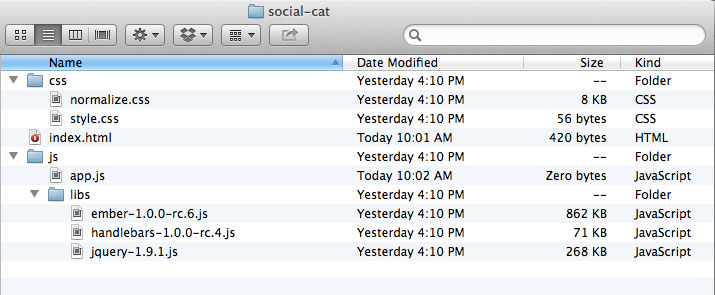
Creating an instance of an Ember Application
Open /js/app.js file. To start off our app we need to create a new instance of the Ember.Application object and set it with the name for our application ‘SocialCat’. This will allow us to make use of all the out of the box features that Ember provides whenever we refer to out SocialCat object.
1
| |
Building Templates
Next lets jump over to the index.html file and so we can create the main template view for our application. To do this we make use of the HTML script tags and set them to a type of ‘text/x-handlebars’. This specifies the code as a handlebar template. Ember sees that this handlebar template has not been given a specific id attribute and thus it will know to automatically render this content first when the user visits the page.
1 2 3 | |
If you open index.html in your browser, here is what we see:
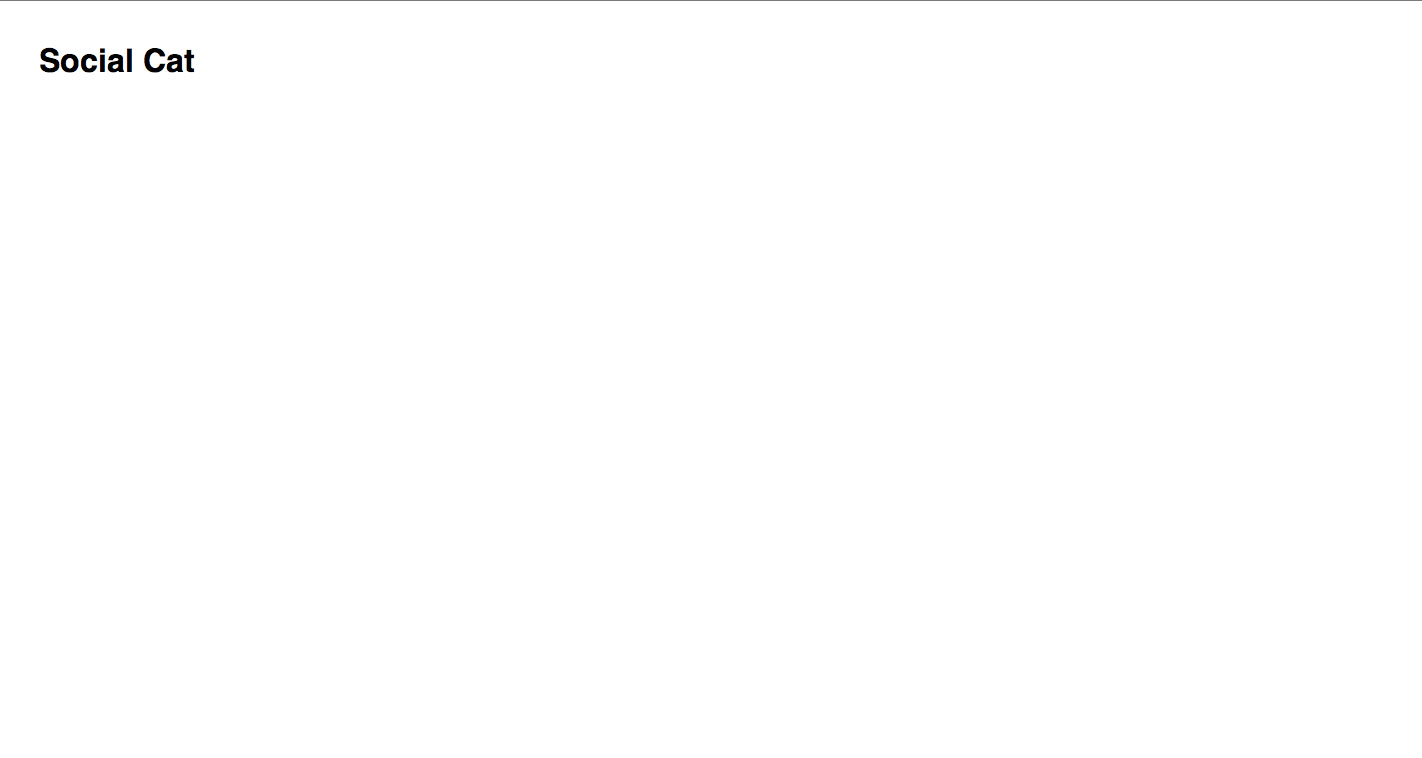
That’s grand, thanks Ember.
Let’s build out some more templates in our index.html page. In the code example below notice that the handlebars template script tags are given an id attribute of cats and about. This is neccesary for Ember to associate the template with a specific route name. We must also not forget to place the {{outlet}} placeholder inside the main template view. This tells Ember where to render the templates (cats and about) inside the main template view.
1 2 3 4 5 6 7 8 9 10 11 12 | |
Setting up Routes
Up to this point we have created several template views in our index.html. When users interact with our application we will want to display some of the views within the placeholder marked {{outlet}}. Setting up routes allows ember to map URLs like #/about to display the template marked with the id of about and #/cats to display the template marked with the id of cats. Fortunately, Ember makes setting up routes fairly effortless. Lets move over to our /js/router.js file and build out our routes.
1 2 3 4 | |
To test this in a browser, you can manually type in the url index.htm#/about or index.html#/cats to see the views render.
Linking to Route Paths
We are now ready to add navigational links that will change the URL for the appropriate route and display the appropriate template for us. Let’s jump back to index.html and insert a nav bar with links. Instead of standard HTML links we will instead use handlebars #linkTo helper. This helper will generate HTML links for us that will navigate to the correct route. #linkTo first argument is the name of the route (in our case ‘cats’ and ‘about’). The closing /linkTo surrounds the link cotent and defines the ending point we wish to be linkable.
1 2 3 4 5 6 7 8 9 10 11 12 13 14 | |
We can also go into css/style.css and add a class of ‘active’ to style the active link for the view that is displaying. Ember gives us this functionality for free.
1 2 3 4 | |
Let’s test in our browser. When you click the Cats link you should see this
and when you click the About link you should see this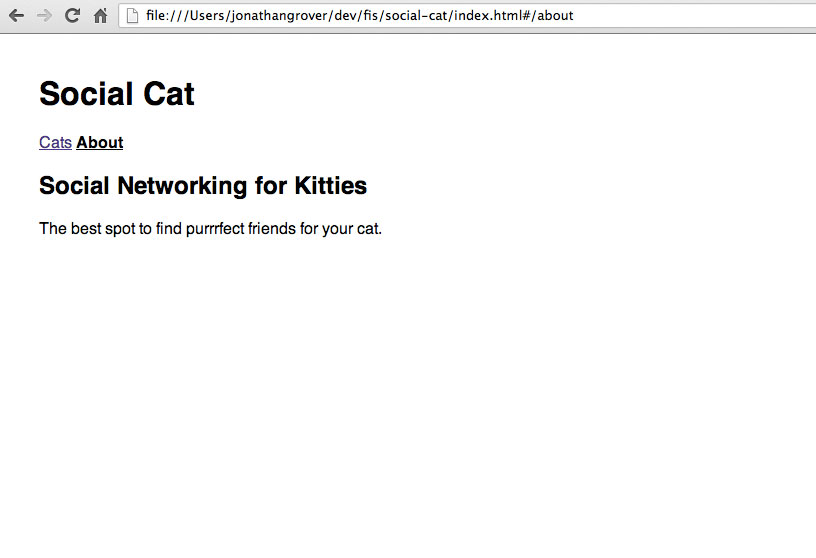
Looking good, but we would like to modify the index route so that when a user first visits our site, it will automatically redirect to the ‘cats’ route. To do this we will use the following code in our /js/router.js
1 2 3 4 5 6 7 8 9 10 | |
You will notice that we changed the default behavior of the index route (the default route that will display first) by refering to SocialCat.IndexRoute and passing it the value of Ember.Route.extend(); This extends the route behavior and allows us to specify a redirect that transitions to our ‘cats’ route.
What We Learned
We learned that Ember allows us to quickly and easily link routes to templates using Handlebars #linkToto helper. Templates are created by using script tags with type of text/x-handlebars and that we can use App.Router.map to associate a route like #/about with the matching template with the same id of about. We also learned that we can interupt and redefine route behavior by extending Ember’s Route object.
Whats Next?
In part 2 we will learn to create a model, explore working with nested routes, and how to display model data into our templates.